
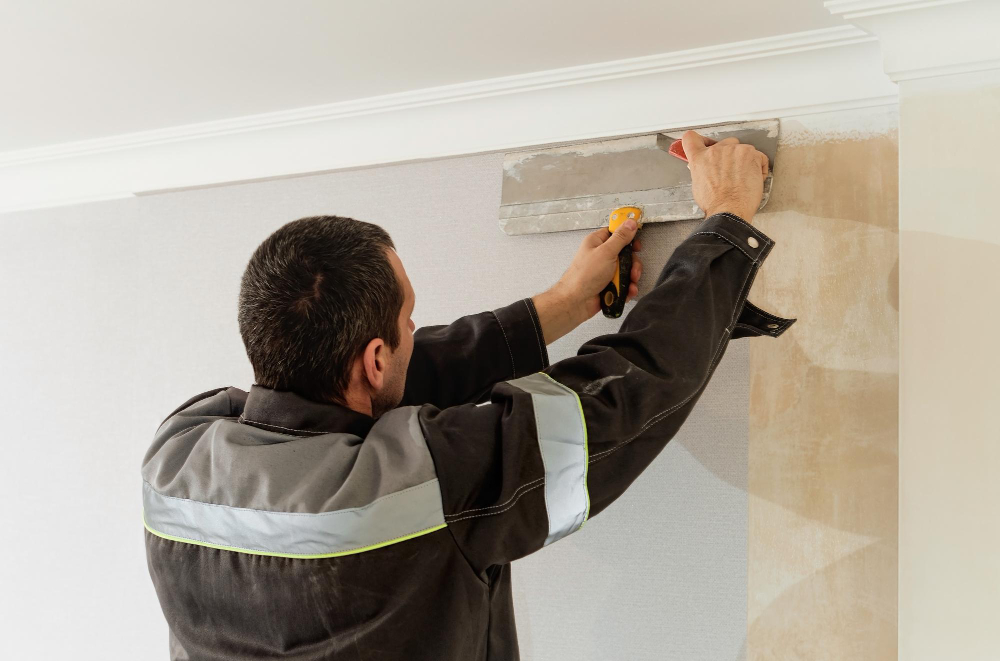
is one of those finishing touches in an interior that takes a room from basic to polished instantaneously. If you’re updating a living room, adding new kitchen cabinets, or putting architectural detail on a bedroom, knowing how to properly install crown Molding may make a huge difference in the look and value of your home.
This guide provides a comprehensive, professional, and user-friendly approach, detailing needed tools, sequential installation procedures, frequent errors, and instructions for installing crown Molding on cabinets.
Quick Install Snapshot:
| Crown molding installation is a structured carpentry task that transforms plain wall-to-ceiling transitions into decorative architectural detailing. The process requires accurate measurement, compound-angle cutting, and secure fastening into wall studs. After installation, finishing work such as caulking, filling nail holes, and painting ensures a polished, seamless appearance suitable for both residential and cabinetry applications. |
Core Execution Insights:
| > Precision measurement is more important than speed, as errors compound at corners > Inside corners perform best with coping cuts, not simple miter joints > Stud mapping before installation prevents weak or uneven fastening > Dry-fitting each section eliminates costly rework after nailing > Construction adhesive plus nails improves long-term stability > Caulking and surface finishing determine the final “professional” look > Cabinet crown molding requires a mounting strip for alignment consistency > Slight overcuts are safer than undercuts; trim to fit for perfect joints |
Understanding Crown Molding
Crown molding is essentially a decorative trim piece that is installed at the intersection of the walls and ceilings. It adds a sophisticated architectural detail, providing a seamless transition and a finished look to any room. When you install crown molding, you are adding an element that can significantly enhance the perceived value and aesthetic appeal of your home, making it a worthwhile DIY project for many homeowners.
Types of Molding Materials
There are several types of molding materials available, each with its own advantages and disadvantages. Common options include solid wood, MDF (medium-density fiberboard), and polyurethane. Solid wood offers a classic, durable finish but can be more challenging to cut and install. MDF is a cost-effective alternative that is easier to work with, while polyurethane is lightweight, moisture-resistant, and ideal for intricate profiles. Choosing the right material for your crown molding project depends on your budget, desired aesthetic, and skill level.
Benefits of Installing Crown Molding
Installing crown molding offers numerous benefits beyond just aesthetic appeal. It can hide imperfections where the walls and ceilings meet, providing a clean and polished finish. Crown molding adds architectural interest, making a room feel more complete and luxurious. Furthermore, the installation of crown molding can increase the overall value of your home, making it an attractive feature for potential buyers. It’s a DIY project that delivers significant visual impact and long-term advantages.
Tools and Materials Needed for Installation
Essential Tools for Installing Molding
To successfully install crown molding, you’ll need a range of essential tools that will make the DIY project much smoother. A miter saw is crucial for making precise angle cuts, especially for inside and outside corner installations. A nail gun, such as a brad nailer or pin nailer, will securely attach the molding to the walls and ceilings, while a coping saw is invaluable for creating coped joints that fit together seamlessly. Don’t forget a tape measure, pencil, and stud finder for accurate measurements and safe nailing.
Choosing the Right Trim and Wood Filler
Selecting the right trim and wood filler is vital for a professional finish when you install crown molding. The trim material itself should complement your room’s style and your budget, with options ranging from solid wood to MDF. For any small gaps or nail holes left after you nail the crown, wood filler is essential. Choose a wood filler that can be sanded smooth and painted over, ensuring a seamless appearance for your installed crown molding.
Selecting the Perfect Paint Color
The final touch to your installed crown molding is often a fresh coat of paint, and selecting the perfect paint color is key to achieving a cohesive look. While many choose to match the trim to their existing ceiling or wall color for a seamless transition, others opt for a contrasting shade to make the molding pop. Consider the overall aesthetic of the room and how the chosen paint color will enhance the architectural detail of the crown molding.
Preparing for Installation
Measuring and Marking the Walls
Before you install crown molding, meticulous measurement and marking of the walls are critical for a successful installation. Start by accurately measuring the length of each wall where the molding will be installed. Use a stud finder to locate and mark the studs along the top of your walls, as these will be the anchor points when you nail the crown molding. Precise measurements will minimize waste and ensure you cut crown pieces accurately for all your inside and outside corners.
Using the Jig for Accurate Cuts
When cutting crown molding, especially for tricky angles, using a jig can make a significant difference in accuracy and ease. A crown molding jig helps hold the piece of crown at the correct angle against your miter saw, mimicking how it will sit on the walls and ceilings. This tool is particularly useful when cutting inside and outside corners, as it allows you to consistently achieve precise angles, making the two pieces of molding fit together much more tightly with a minimal gap.
Understanding Angles and Joints
A fundamental aspect of DIY crown molding installation is a thorough understanding of angles and joints. Crown molding typically involves 45-degree angle cuts for both inside and outside corners, but these angles can vary depending on your wall and ceiling lines. Learning to cope inside corner joints with a coping saw allows for a much tighter and more seamless fit than simply mitering, especially when walls are not perfectly square. Practice makes perfect, and understanding how two pieces of molding come together is crucial.
Step-by-Step Installation Process
Cutting the Molding with a Saw
When you are ready to install crown molding, precise cuts are paramount, and your miter saw will be your best friend. For an inside corner, you will typically make a 45-degree angle cut. Remember the trick to cutting crown molding: for inside corners, the top of the molding (the part that will hit the wall when installed) should be placed against the saw’s fence. For outside corners, the bottom of the molding (the part that will hit the ceiling) should be against the fence. This method ensures that your cut crown pieces will fit seamlessly.
Assembling the Pieces Seamlessly
Achieving a seamless fit when you install crown molding is crucial for a professional look. For inside corner joints, many carpenters prefer to cope one piece of molding rather than simply mitering both. To cope an inside corner, you will miter one piece normally, then use a coping saw to cut the profile of the second piece to fit perfectly against the first. This creates a much tighter fit, especially when walls are not perfectly square, minimizing any gap and making the two pieces appear as one continuous trim.
Securing the Crown Molding in Place
Once your pieces are cut and test-fitted, it’s time to secure the crown molding. Use a stud finder to locate the studs along your walls and ceilings, marking their positions. A nail gun, such as a brad nailer or pin nailer, loaded with finish nails or brad nails, is ideal for this task. Nail the crown molding into the studs at both the top and bottom edges where the molding hits the wall and ceiling, ensuring it is firmly attached. This method provides a strong and lasting installation.
Finishing Touches
Applying Caulk for a Smooth Finish
After you install crown molding, even with the most precise cuts, small gaps might appear where the molding meets the walls and ceilings, or where two pieces of molding join. This is where caulk becomes indispensable. Apply a thin bead of paintable caulk along all seams. This not only fills any imperfections but also creates a seamless transition, making the installed crown look like an integral part of your room’s architecture. Allow the caulk to cure properly before proceeding.
Painting and Touching Up
With the caulk dry, the next step in your DIY crown molding journey is painting. If you’ve chosen pre-primed molding, a single coat of your chosen paint color might suffice. Otherwise, apply a primer first, then two coats of paint. Pay close attention to painting over any nail holes you’ve filled with wood filler and ensure complete coverage over the caulk. This step unifies the trim with your room’s aesthetic, making your installed crown truly shine.
Final Inspection and Adjustments
The final step after you install crown molding and paint it is a thorough inspection. Walk around the room and examine all the joints, corners, and seams for any missed spots or imperfections. You might need to do some minor touch-ups with paint or apply a bit more caulk to seal a stubborn gap. This final check ensures that your DIY crown molding installation looks professional and polished, leaving you with a beautifully transformed space.